How to Prepare Pavement for Sealcoating
If you have decided to sealcoat your asphalt driveway or other paved surface, then you have made an excellent decision. The sealcoating process will protect your asphalt from the damaging effects of unprotected exposure to the sun and weather conditions.
If you have ever seen a driveway or perhaps a parking lot that has been constructed of asphalt but is now grey and cracking then you are witnessing the aftereffects of a process called oxidation. This happens when the naturally occurring oils present in asphalt are not given sufficient protection to exposure to the sun and weather.
This protection can be provided via a technique called sealcoating and if you have decided to install this onto your driveway then you have made an excellent decision – one that can extend the life of your asphalt driveway or pavement by many years.
Whether you are doing the sealcoating yourself or have hired a company to come and perform the application, it is of the utmost importance that your driveway or pavement is prepared and ready to receive the sealcoating treatment.
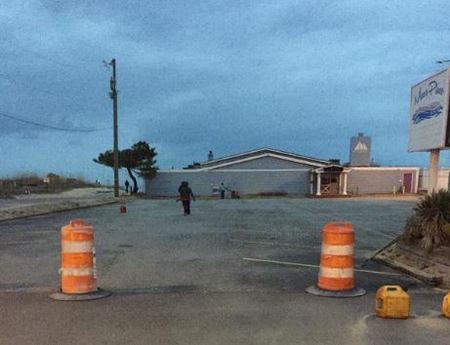
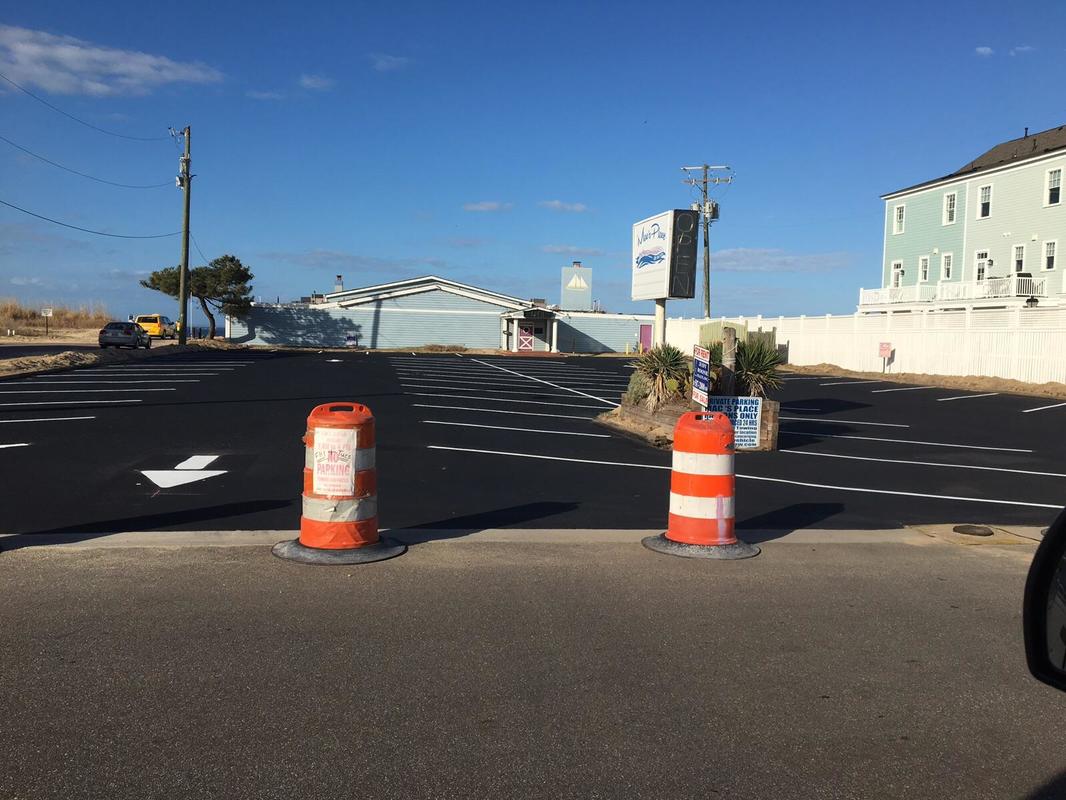
Check out the before and after pictures below:


Before and after photo credit: Asphalt Paving & Sealing of Virginia Beach – company homepage.
Effective preparation will ensure that the sealcoating can effectively penetrate the asphalt surface and so provide many years of protection. Even if you have hired an external company it is well worth going through your own preparation routine.
Check out the video below for quick prep tips:
For one thing, this is your driveway or pavement; therefore you want the best possible result, right? Take the care and do the prep work and you will be rewarded with a superior finish. Secondly, the company will charge extra for any additional prep work the have to perform – therefore you can save yourself some bucks on the final bill by doing your own prep work.
First and foremost you need to monitor the weather, both on the day of application itself and also the forecast for the next few days. As sealcoat is a liquid application, it simply cannot be applied during rain – so if there is any chance off rain on application day it is better to call off the whole thing off.
Further to this, the coating needs to dry completely in order to provide maximum protection. You therefore need a forecast for several days of warm, sunny weather in order to get the maximum effect from your application.
Looking for more detailed info and have technical questions? We’ll be happy to answer those for you, but first, be sure to check out these faq’s about sealcoating from our partner Shane Small. He’s been in the industry for over 10 years and has some great insight.
Entertaining Tip: It should go without saying but we’ll spell it out anyway – ensure the driveway or pavement is clear of all obstructions such as cars, trailers, children’s toys or trampolines and swing sets.
If you are re-sealing an area around a commercial location such as a store, be sure to pre-alert your customers and any delivery drivers that they won’t be able to park on the treated area until it has dried completely. Depending on the weather, this can take as little as 24 hours but often somewhat longer. Walking, driving over, or parking on freshly sealed asphalt will affect the ability of the application to dry properly so make sure to keep the area clear!
If your driveway or pavement is adjacent to any sprinkler systems then make sure these are turned off and remain off until the sealcoating is completely dry.
Speaking off lawns, if your driveway or pavement borders a lawn, ensure it is well trimmed back from the driveway edge. You don’t want any overhanging leaves or grass blades obstructing the spray of sealcoat.
Follow these pretty straightforward tips and you will have a successful sealant application!
Are you located in Northern VA by chance? If so, then check out Shane’s recently opened branch in Northern Virginia.…


